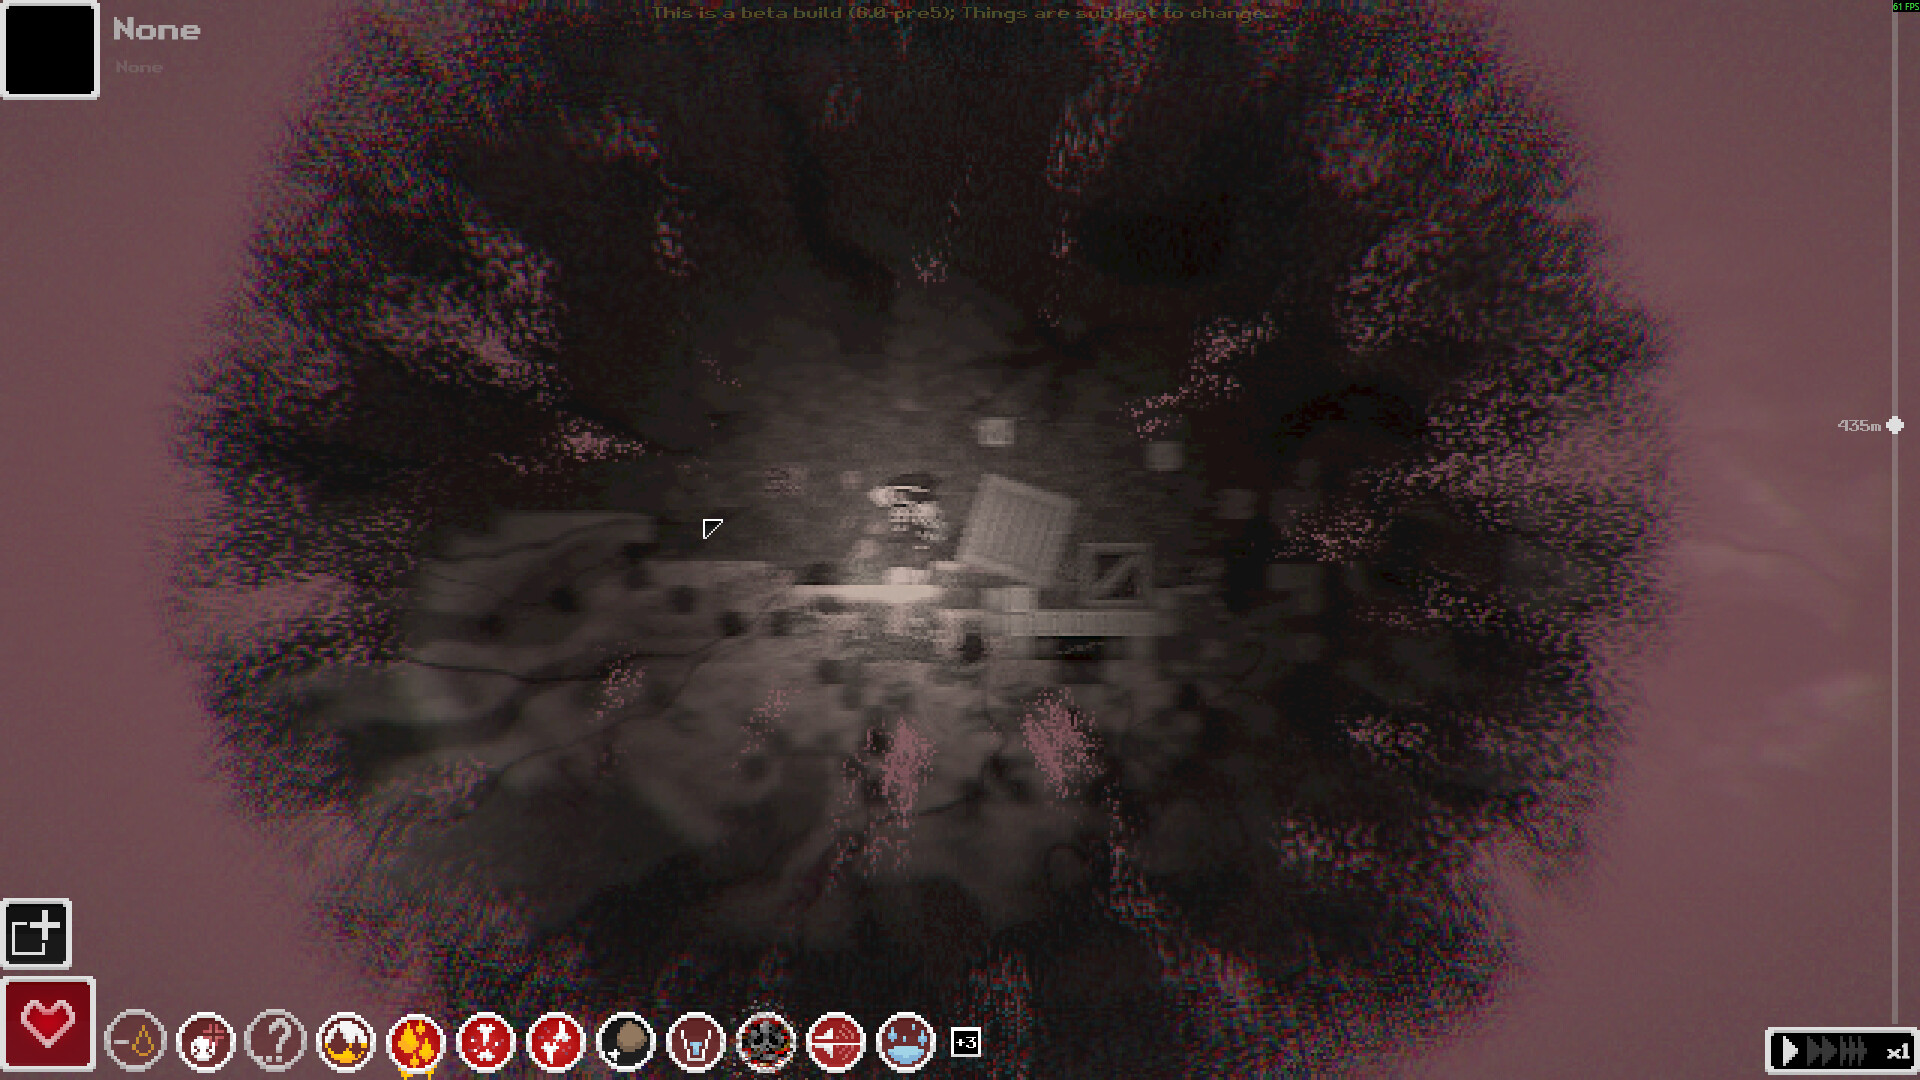
The full-game count and the demo route
The publisher describes eleven layers in Casualties: Unknown: ten main layers and a shorter eleventh layer. The Steam demo contains the first five, in this order: Gravel lands, Deeper gravel lands, Dried desert, Wasteland and Overgrown depths.
Prepare for the next layer's hazards before descending, particularly water needs before Dried desert and radiation before Wasteland. The walkthrough below covers the documented Steam demo route. Keep that route separate from the itch prototype and from later areas named in full-game pre-release material.
The supporting beginner controls and preparation advice here reflect demo 7.0.1. Use them alongside the layer overview rather than assuming every older prototype instruction or full-release change applies to your demo. For example, the developer describes full-release drill pods as more numerous and easier to use.
Prepare as the early layers change
- Build your basic supplies in Gravel lands. Foliage, scrap and groundwater give you resources to work with, while spikes and crawlers already make careless travel dangerous. Prioritize a container and dressings so useful finds become supplies you can carry onward instead of leaving you unprepared after an injury.
- Prepare for falls and flooding before entering Deeper gravel lands. Ticks add another threat, so carry light and bleeding treatment while checking the terrain ahead. Make your immediate goal a route you can traverse safely rather than a fast descent that leaves you injured or surrounded by water.
- Build up your water supply before Dried desert. Dehydration joins turrets and mines here, making both your supplies and your path important. Review what you are carrying before committing to the next stretch, and avoid treating a water shortage as something you can leave until after exploring.
- Review your protection and specialized equipment before Wasteland. Radiation and sound cannons become particular concerns, so reassess whether the supplies that served you earlier still fit the next threat. Favor a deliberate approach that leaves room to respond when your condition changes.
- Keep your medical supplies ready when entering Overgrown depths. More vegetation and food make gathering attractive, but dangerous creatures remain part of the layer. Treat resource collection as a choice to make around nearby threats rather than a reason to use up your remaining protection and treatment.
Carry supplies you can actually use
A container helps turn early gathering into preparation for later layers. In the demo beginner guidance, containers such as a trash bag or foliage bag expand what you can carry, and empty containers can fit inside other containers. Keep your useful bags and tools favorited so crafting does not consume them.
Prepare clean water while you have the opportunity. The demo method uses a canteen to collect groundwater and a campfire to boil it into clean water. Make that preparation part of your departure decision, especially before a layer where dehydration is a documented concern.
Carry dressings and inspect wounds before moving on. Bleeding drains blood volume and can lead to infection; the demo guidance recommends treating infection early with antiseptic until the arrow on its icon shows it shrinking. A wound that is getting worse deserves attention before the terrain becomes more demanding.
Approach the transition on the terrain you get
- Look for the current layer's transition or drill-pod opportunity instead of following a fixed coordinate route. The world is procedurally generated, so judge the terrain in front of you. A familiar layer name tells you what to prepare for, but does not provide a permanent path through it.
- Check your remaining time before another detour. The demo has layer time pressure, while the Unchipped preset removes the limit and disables the health panel. Make the decision using your run's conditions so you do not trade a reachable transition for gathering you can no longer afford.
- Assess nearby enemies and the approach before committing to the transition. Favor ground you can cross with your current injuries and supplies. If digging is part of your route, remember that swinging a tool into terrain exhausts you quickly in the demo.
- Use the layer transition's Save and Exit option when you want a normal demo stopping point. Recognize the transition prompt as your opportunity to take a break rather than assuming that quitting anywhere in the layer produces the same result.
What happens after the demo's last layer
- Does the demo end after layer 5?
- Demo players report that completing the fifth layer returns you to Deeper gravel lands with your existing equipment, continuing the demo loop. Reaching that familiar layer again is therefore different from reaching a full-game ending. The developer separately describes three endings for the full release.