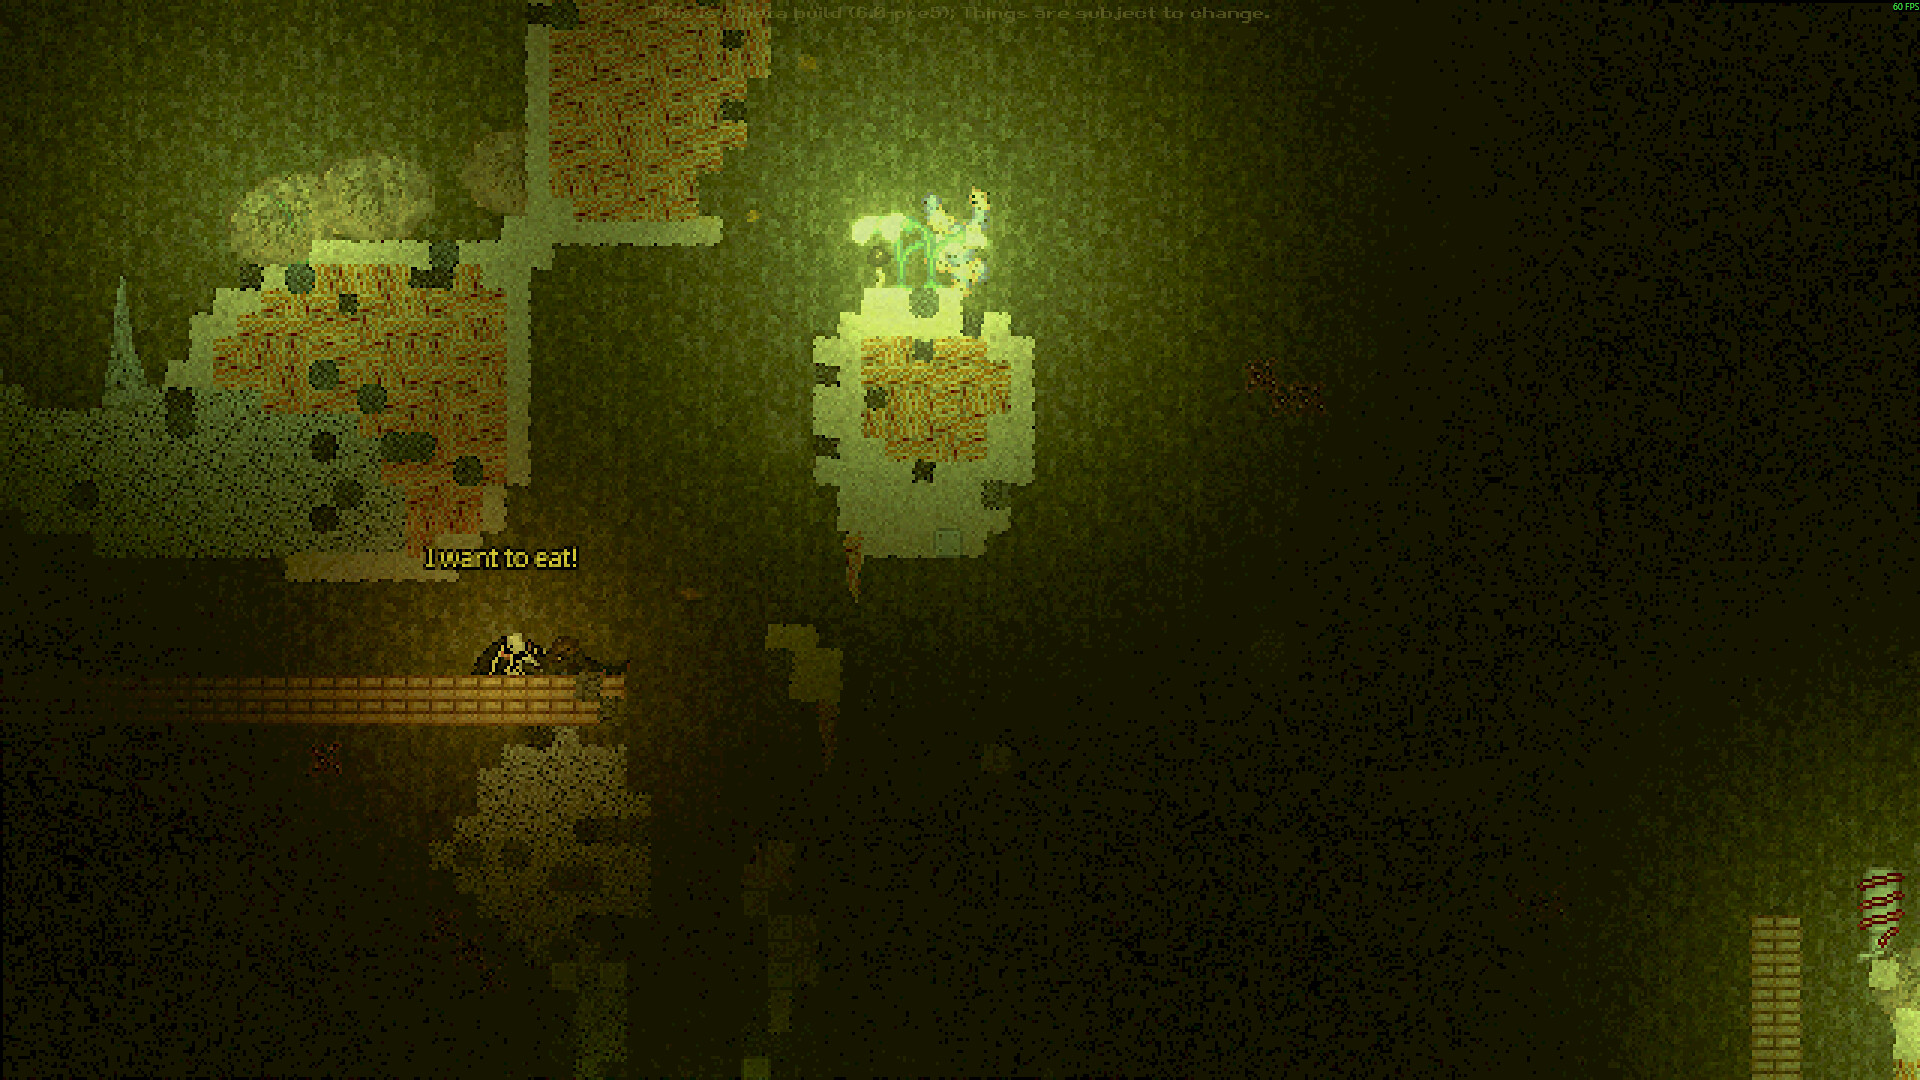
Watch for lights, launches and charging sounds
In the demo, Spike traps have red warning lights, Jump pads launch the character upward, and Sound cannons audibly charge before attacking. Trigger a Spike trap remotely with a disposable object when you can keep clear; use terrain or another route when a Sound cannon starts charging.
Slow down before entering an unfamiliar passage, especially in Gravel lands and the Wasteland, where these hazards appear in the threat lists. A route that looks passable still deserves a check for warning cues before you commit your character to it.
Prepare without risking essential equipment
Keep a disposable object available when you intend to test a trap remotely. Preserve essential medicine and tools rather than throwing away the equipment you need to survive afterward. For a Jump pad, a heavy disposable container is a documented activation option.
The hazard descriptions here concern the demo, and the throwing and health-panel controls follow Steam demo 7.0.1. Keep older itch prototype item statistics separate from the Steam demo and full release; use your own build's descriptions before relying on an item's properties.
Choose a response for the trap ahead
| Trap and cue | Practical response |
|---|---|
| Spike trap: red warning lights and a triggered attack | Throw a disposable object to trigger it remotely before crossing, while keeping your character clear of the attack. |
| Jump pad: a launch hazard that throws you upward | Avoid it, break it, or activate it with a heavy disposable container. Consider the landing before choosing to approach. |
| Sound cannon: an audible charge before its attack | Use terrain to break exposure or take an alternate route when you hear it charging. |
Test or bypass a trap before crossing
- Stop short of the suspected trap to inspect its cue. Identify whether you are dealing with a Spike trap, Jump pad or charging Sound cannon before choosing a response.
- Select a disposable object for a remote test. This preserves the medicine and tools you may need if the crossing still goes wrong.
- Hold T to throw the main-hand object at a Spike trap from a position clear of its attack. The remote trigger lets you observe its response before moving through the passage.
- Choose a bypass when you cannot keep clear of the hazard. For a charging Sound cannon, use intervening terrain or an alternate route to break exposure.
- Inspect the crossing again before entering it. Make the decision from the trap's visible response and the route ahead rather than assuming that throwing an object settled every risk.
Check injuries after a trap hits
- Open the health panel with R after reaching a position clear of the trap. Inspect the damage before assuming that being able to stand means you can continue safely.
- Check penetration injuries, bleeding, embedded debris and limb function after a Spike trap hit. This identifies damage that needs attention before further travel.
- Check for fall damage, fractures and dislocations after a Jump pad launch. Let the landing injuries determine whether further jumping or climbing is sensible.
- Inspect head or brain integrity, pain and consciousness after a Sound cannon hit. Include systemic warnings in the check rather than relying on the character's visible appearance.
- Limit use of a fractured or dislocated limb while arranging treatment. Rest and avoiding unnecessary strain are part of the documented response to these injuries.
Do not let the next movement hide the damage
Heavy bleeding needs treatment because it can be lethal if left alone. Fractured ribs can make breathing harder, while a fractured neck or dislocated spine can make movement intensely painful. Let those warnings change your next move instead of immediately repeating the crossing attempt.
Continue checking wounds after the immediate escape. Infection can become swollen and warm, then progress into more serious illness. In the demo beginner instructions, antiseptic treatment is followed by checking that the arrow on the infection icon shows it shrinking.
Before returning to the trap, reconsider the route with your current injuries in mind. A bypass may now be the better choice even if you intended to trigger or break the hazard earlier. Preserving your ability to move safely matters more than finishing the original approach.